Friday, November 16, 2012

Rainbow Elevation

As an instructor of mine recently said, there are only so many elevations a jury can look at before they become nothing more than a mess of lines. This project was my twist on an ordinary elevation drawing to make it more interesting to look at and capture your juror's attention.

First,

Laser cut the drawing's line work onto white acrylic (or polycarbonate). The lines will be hard to see so you want to make sure the lines were cut into the material pretty well.


Next,

Squeeze some paint onto an area of the lifework. I chose acrylic because it dries fast and is easy to wipe off with just water. (Use very little paint because you only need a little bit, and it will avoid a big mess)


Then,

Squeeze another color choice onto a different area of the drawing...


Again,

another color in a different area of the drawing.

Finally,

Once you have the color squeezed onto the surface take a squeegee and spread the paint along the surface, the paint should get stuck into the lines cut into the surface. Avoid mixing the color because it will just turn into a nasty brown color, keep the colors as swirls.


Thats it! Pretty quick to make, and not a bad result. I could see this technique being used to make some very beautiful colorful line work.
Thanks for listening! :)


Saturday, November 3, 2012

Safe and Sound.

This project entailed an entirely different design approach than what I was previously accustomed to. The design process was lead by several different requirements it needed to satisfy, which were gradually introduced into the assignment.

- A word of description. 
- An Activity.
- An atmospheric condition. (light, sound, temperature, etc)
- A site/location.

These requirements were introduced one by one, and gradually the project took shape.

It began with the word:
Cluster

"A number of the same kind, growing or held together, or occurring together."


I set off to find my interpretation of the word in the city....

School buses an city.

Pipes.

Metrolink.

Apartment boxes.

Sculpted Lion's hair.


Next came the construction of my idea of "Cluster".
An interesting challenge. How do you give physical property to a concept?

Here is my process and exploration of my word, Cluster.


Module 1.
A simple extruded triangular unit.

The "cluster" resulting from 9 extruded triangular units.


In an attempt to better understand the system, I added numbers to hopefully see any emerging patterns.
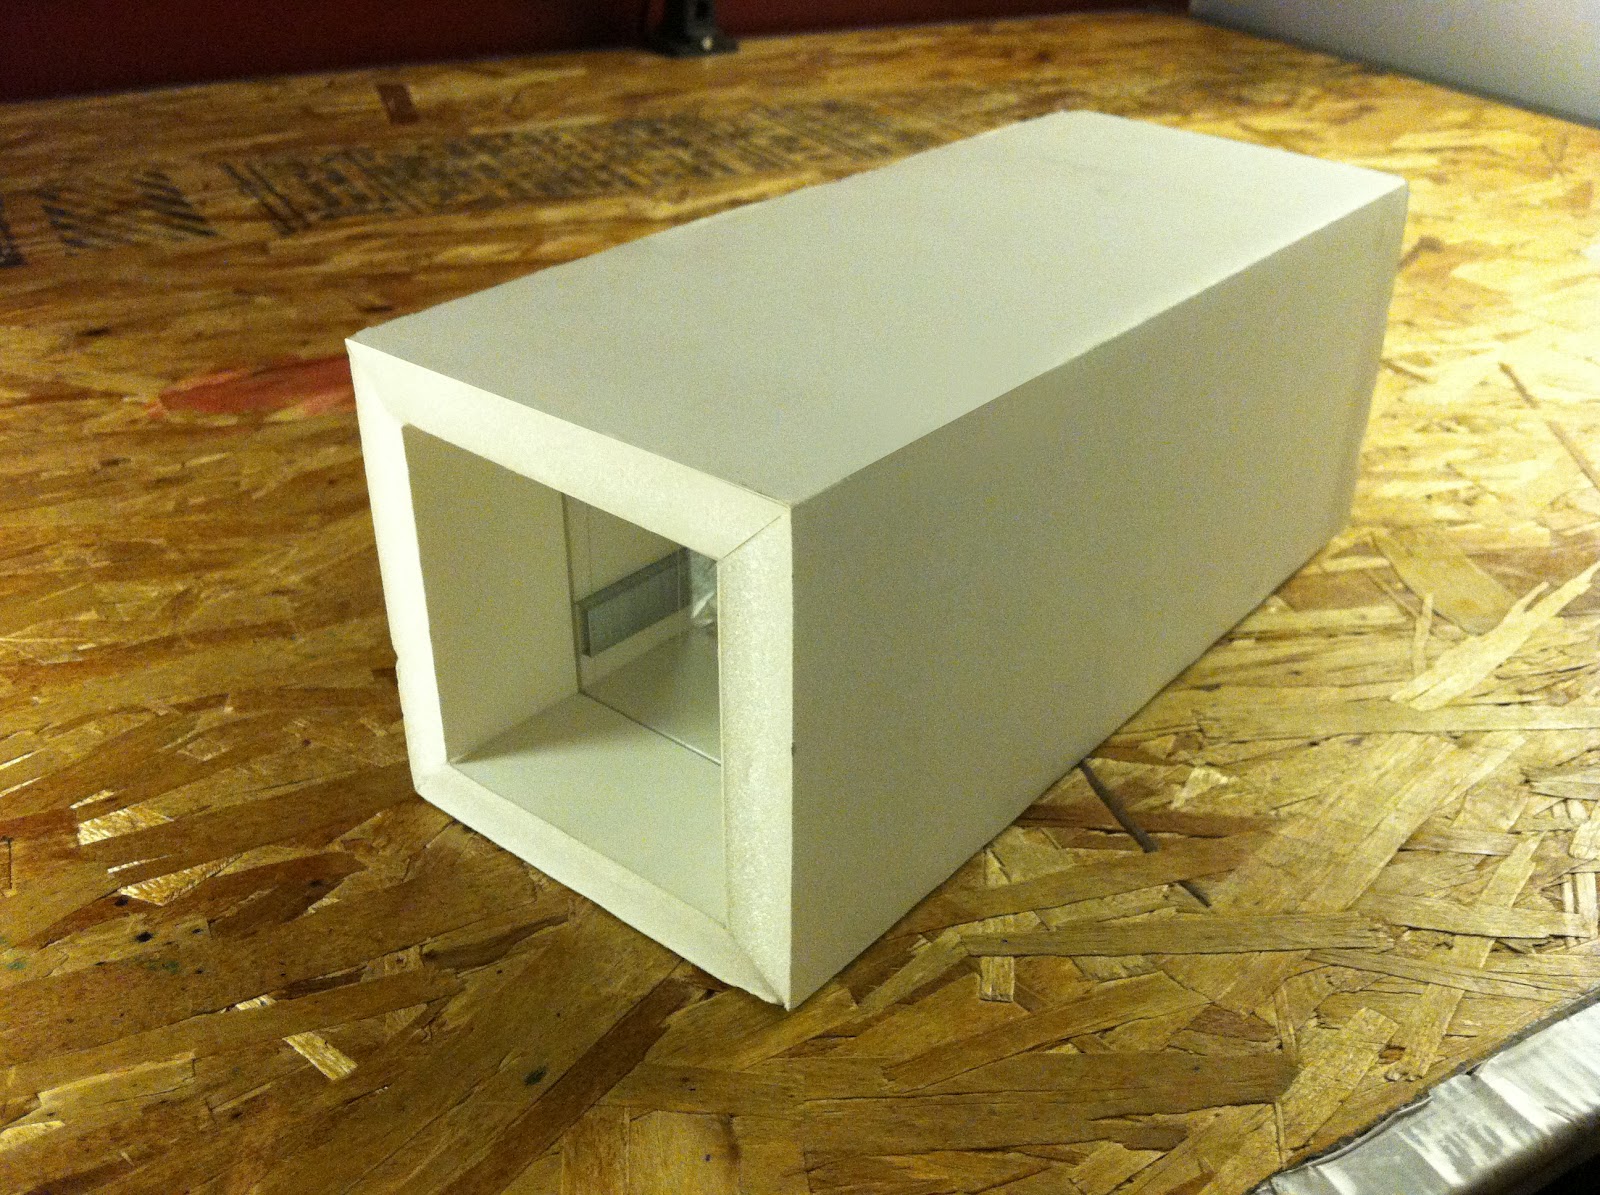


Module 2.
To enable new movements I enlarged one opening, and reduced the other.


The resulting cluster was quite different, and interesting.


An awesome result of this cluster was the variation in aperture densities. This is a close-up of a portion of the model that is very dense with apertures.


The "cluster" structure lends itself to multiple forms of interpretation.


A close-up of larger apertures.


With another modification, which added a proportional geometric incrementation, the resulting "cluster" was composed of a variety of pieces. Though the units were no longer identical, they are very much related.


This picture clearly reveals the thickness variation in the system.


This picture is showing the resulting curvature and size variation of the "cluster" model.


This is a photograph of the variety of aperture possibilities, in size, depth, location, etc.


Then came the activity:
Reading

I recorded myself doing the activity, in a space for that activity to take place, a library. (30min)
I also observed random people doing the activity, but I did not document them...that would have been a bit strange... next time. haha

Here is what I remember from the activity.


The lighting was good, it was also indirect lighting, no direct sunlight anywhere.
The room was cool. Fresh.
The ceiling was really high, so any sound was amplified, so everyone was quiet.

I remember wanting to be more isolated, less exposed to people.
I kind of felt eyes on me, watched.  (Then again, maybe ;D  haha jk)
The seating was uncomfortable, it was all padding, no support.
I kept shifting in my seat, made it difficult to concentrate.

I was trying to dive into the book I was reading (the work of MVRDV), but sounds from outside the building kept bringing me back.


Finally, the introduction of the remaining two pieces:
Sound. (the atmospheric condition)

And the site, into which our project will have to be incorporated.
These two remaining elements catalyzed the project's design.


Here are the photographs of the Final Model.


The orientation of the modules correspond to Morning, Noon, and Sunset.


 The vertical angle corresponds to the height of the sun, which parallels our angle of seating for reading.
(i.e. Upright during noon, Lounging during evening.)


 The tops of the modules allows different kinds of Light into the central reading space.
The Morning module has no filter because the morning light is gentle,
which also allows for circulation of air.
The Noon module is Translucent to create a strong glow, but no sunburns.
The Evening light is indirect to enjoy emotional color.


This is different model. It explores to potential structure, and materials used in the project.


A top view of it's relation to the site.


Thats it! I really enjoyed the new design approach of this project. And had a really good time seeing the project come to life.
Thanks for listening. :)

Saturday, September 8, 2012

Visitor Update

Hello fellow FUNctionalists

Apologies for the inactivity lately, but please keep checking in because I have some REALLY AWESOME projects coming up very soon!


Thanks for your visits! :)

Monday, August 27, 2012

Unusual Model.

Here's a project that isn't quite "design", but I thought you could appreciate it and perhaps help a fellow design students to build a model. This project was for a model making class.

The goal was to create a model that can show it's interior space WITHOUT using any tape, glues or adhesives. For this particular class the spaces were not as important as the model itself. As far as material, any material was fine as long as it respected the rule of no adhesives.

I chose to model a simple retail space. I decided to use Foam core (aka Foam board) for the main body of the model, a small piece of acrylic at the "entrance" of the store, and a small piece of bass wood at the "back" of the store.


The model volume. It is made up of two pieces, each with a 90 degree bend.
 
The entrance view, through the Acrylic facade. You can see the light going through the bends of the foam board, an aesthetic result of the material. A happy accident. :)


To reveal the interior space you remove one of the 90 degree bent foam board pieces. This reveals the secret of using magnets! :D


A view of the retail space. The "bench" is made of spare foam board pieces.


To simulate a mural, I used one of those tiny soap bars you see in Hotel bathrooms! :D


A close up of the tiny (free) hotel soap bar. It kind of looks like marble! 


To simulate glass panels I lightly scored the acrylic. I also scored the foam board to tightly hold it in place.


To simulate shelves I used whole rows of Staples! I simply scored the foam board, and pushed the staples into it.


To simulate.... I'm not sure, lighting fixtures...or vents (in the roof), I used candle flint holders.


These are just some things I had laying around my house, and it's amazing how they look like something entirely different at a different scale. This was a fun assignment. I hope you enjoyed it!

Thanks for listening. :)

Thursday, August 16, 2012

Improvised Table

I was given a plywood Lid, left over from a wooden box, and was asked to make a table with it.

 I had four left-over 4" cubes of wood (which I had chopped from a 8' post of wood for a different project) I drilled the cubes to the corners of the table - but as would imagine 4" off the ground is not 
enough, so I had to make legs.


(Above you see the cube drilled to the Lid, and the Leg drilled to the Cube)


I had some left-over scraps of plywood form a previous project, and had to cut it efficiently in order to make 4 legs for the table. I quickly sketched out a layout that would give me legs.


Then I drilled the legs to the 4" cubes I had just put on the Lid.


Thats it! It was sort of freestyle furniture making, I didnt sketch at all (except for when I made the legs) so the outcome was more or less unpredictable, but good. I'll update this post later, because I plan on making a better developed version.

Thanks for listening. :)